


Designed with scalability and serverless architecture in mind, LightCommerce offers a seamless integration into your existing CMS or delivers a full headless Progressive Web App (PWA) webstore experience.

Revolutionary headless plugin integrates LightCommerce into WordPress and Typo3 for enhanced ecommerce.
Say goodbye to complicated coding and slow website speeds.
Our solution simplifies website performance and eliminates conflicting plugins. Easily access advanced features of ecommerce platforms like BigCommerce, Shopify, and Magento for optimal efficiency and flexibility.

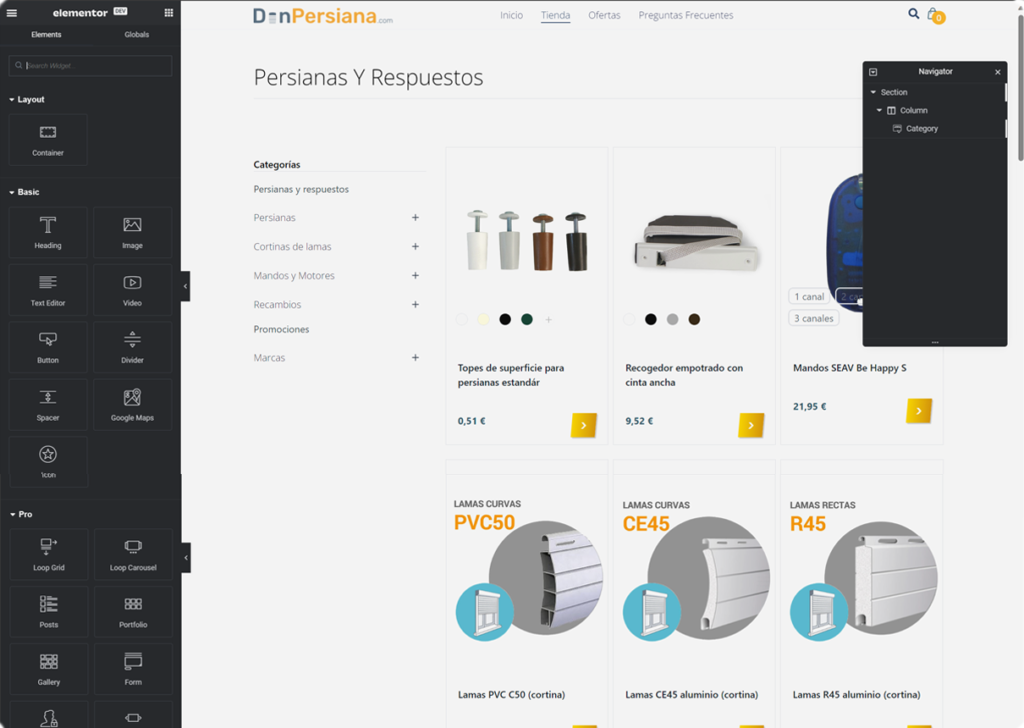
LightCommerce with WordPress, offering seamless compatibility with Elementor for unparalleled website customization and ecommerce functionality.
Our innovative headless plugin effortlessly merges LightCommerce with Typo3, delivering multilanguage capabilities alongside powerful B2B features for a comprehensive and dynamic ecommerce solution.

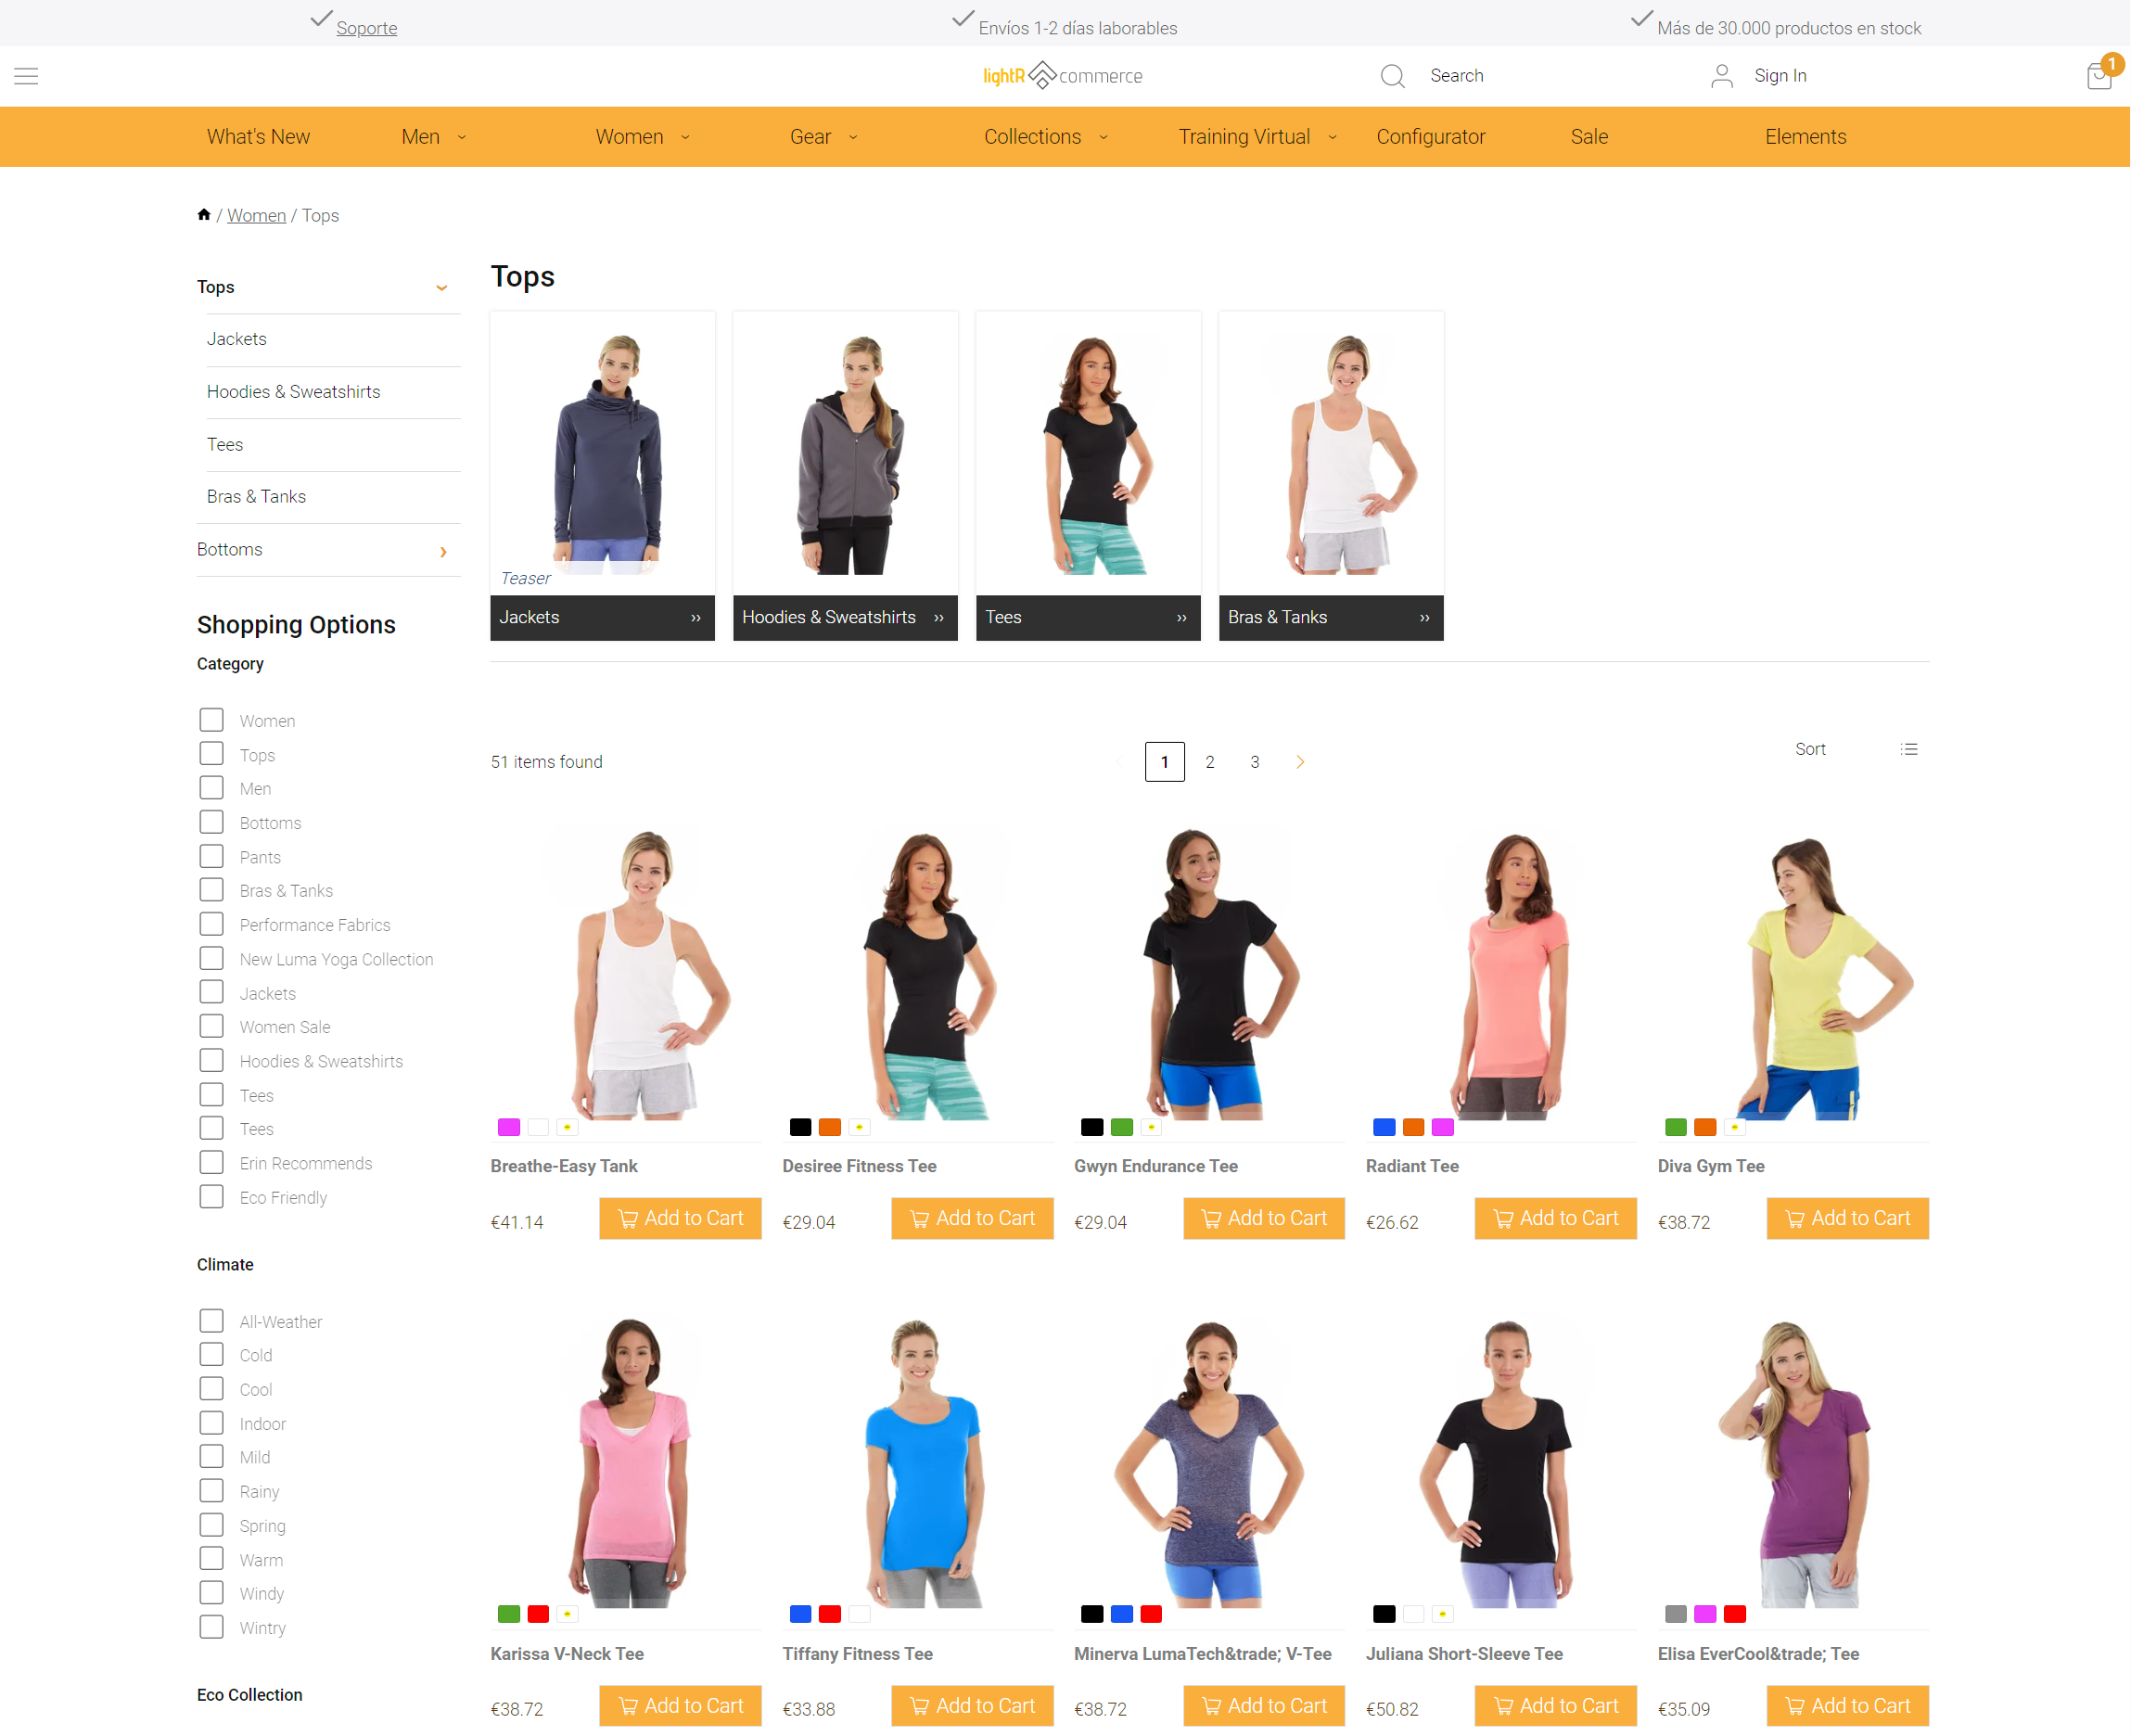
With our lightCommerce, you will have full customization options and control over your frontend performance. Whether you are running first-class platforms like Shopify, BigCommerce, or Magento, your performance is not their priority. However, it should be yours. Choose headless and regain control over your performance and functionality.
Experience the future of ecommerce with LightCommerce's Full Headless Progressive Web Application (PWA) integration, where your online store's performance, scalability, and deployment efficiency reach new heights. By decoupling the frontend from the backend, our solution ensures lightning-fast loading times, seamless scalability, and effortless deployments, reducing development time while maintaining optimal performance. With backend management no longer impacting frontend operations, your store experiences unparalleled agility and responsiveness, driving customer engagement and boosting sales.
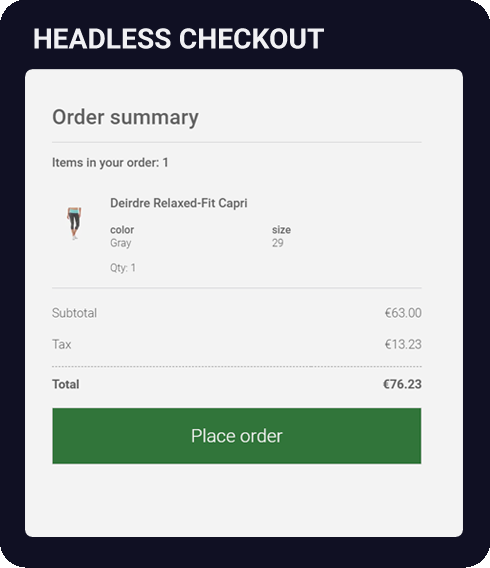
LightCommerce's headless checkout streamlines purchasing and enhances user satisfaction by separating the process from the frontend. Our approach ensures seamless transactions, reducing cart abandonment rates and increasing conversions. Release yourself from the vendor lockin of your eCommerce platform and optimize your profits by avoiding costs.
Our solution adheres to MACH Alliance Composable principles, ensuring compatibility with all modern ecommerce platforms, including BigCommerce, Shopify, and Magento. This compatibility guarantees seamless integration and maximizes flexibility, empowering you to leverage the full potential of your chosen platform while enjoying the benefits of LightCommerce's innovative features and capabilities.
A flexible eCommerce solution that breaks limits and enhances performance.
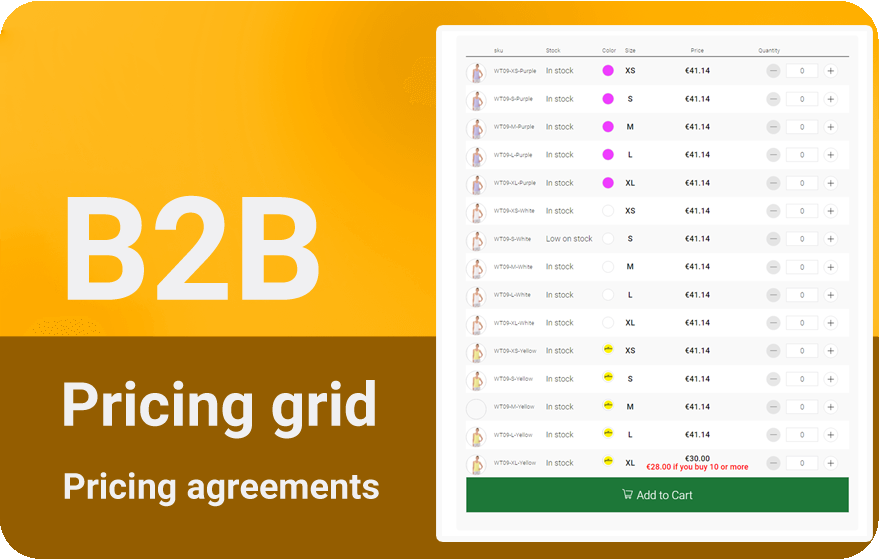
Because your product does not fit a standard checkout experience.
With B2B functionality, including a pricing grid, personalized pricing, and other features.
LightR Commerce is completely customizable. Contact our development team now.

Headless architecture minimizes the attack surface for cybercrime by reducing exposure to potential vulnerabilities inherent in traditional monolithic systems.
GraphQL optimizes data querying by fetching precisely what's needed, boosting performance and developer efficiency.
PWAs provide users with app-like experiences on the web, offering faster loading times, offline access, and enhanced performance.
Get ready for an awesome and empowering solution that will change the game for your business.
Direct access to our developers empowers shop owners to prioritize profit, while our team handles technical intricacies swiftly and efficiently. With clear communication channels, customization requests and strategic guidance are promptly addressed, ensuring seamless navigation of the ecommerce landscape and staying ahead of the competition.


Elevate Content & Supercharge your Store

We strive to merge the unparalleled prowess of content creation and eCommerce platforms to provide a seamless high-level performance experience without any sort of compromise.
More about
©lightRcommerce.com, All rights reserved, and a product of young-dogs.com